Welcome to the second part of our adventure of bringing Adobe’s new and shiny Web SDK into this WordPress blog! In the previous post, we have taught WordPress to expose meta data about posts and pages in a custom-defined data layer object and load Adobe Launch. Now we want to integrate Web SDK in to push data to the Experience Platform Edge Network and Adobe Analytics.
To bring data to Adobe Analytics, we need to go through a couple of steps:
- Create an Experience Edge Datastream in Adobe Launch
- Add the Web SDK Extension to the Adobe Launch Property
- Create an Experience Platform Schema for the Analytics data
- Map data layer information to Data Elements
- Map Data Elements to Experience Platform XDM Schema
- Map XDM fields to Adobe Analytics variables
That’s quite a to-do list! Let’s get started right away
Creating the Experience Platform Configuration
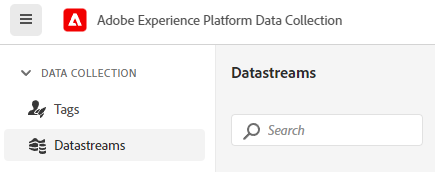
Users of Adobe Launch will have noticed the new menu item for a while already. In the new Datastreams section, we can create and edit the connections that Web SDK uses to send data to the Experience Edge Network. You can find the option in the menu within Data Collection/Launch:
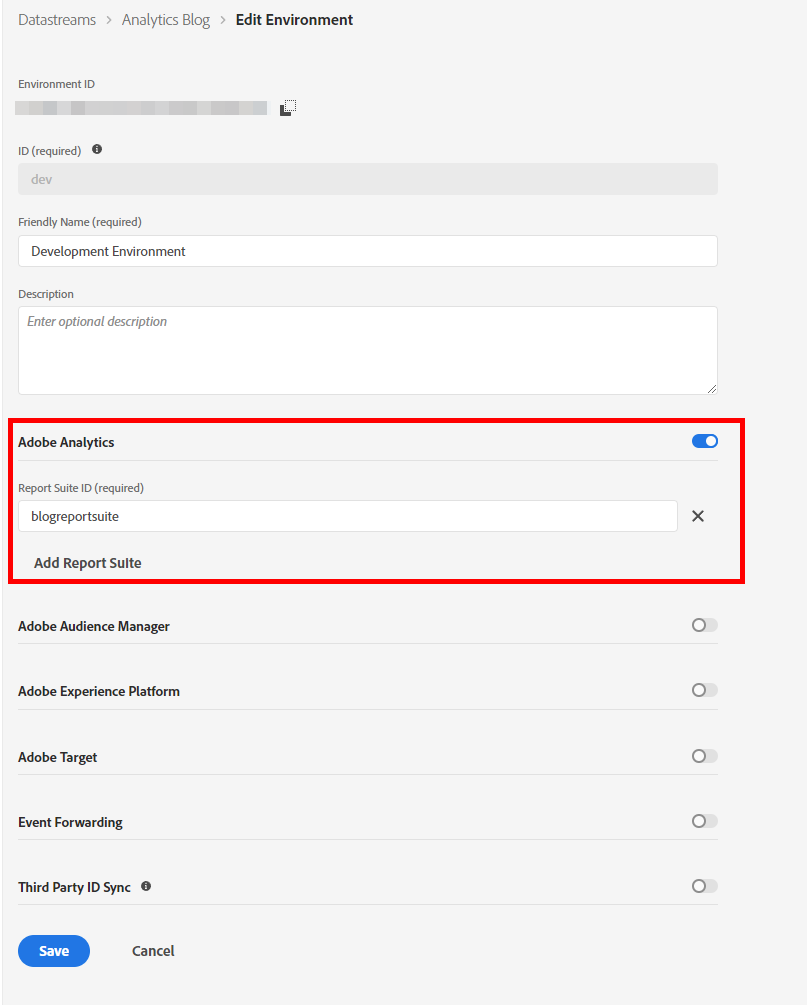
When creating a new Datastream, we can select which Adobe solutions should receive data from or write data to this Datastream. This is Adobe’s version of server-side tracking because all tools are integrated after data has been collected. For now, all we need is a connection to Adobe Analytics, so we enable that tool by flipping the toggle and defining the Report Suite ID we want to use:
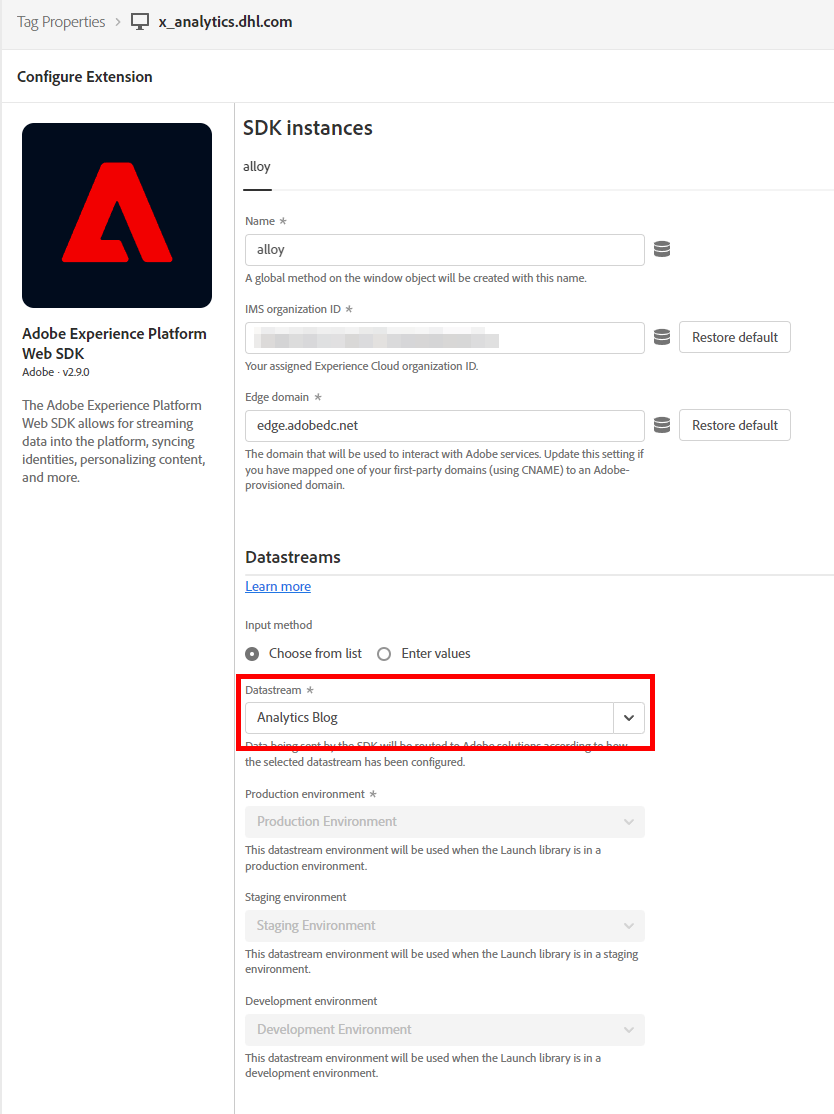
Awesome! To collect data from the frontend (the page you are currently viewing) we now need to select this Datastream in the Web SDK Extension within our Launch Property. Once we’ve added the Adobe Experience Platform Web SDK Extension, we can select the newly created Datastream:
Neat! The last preparation step is to define the structure of the data we want to send to the Edge Network. In Adobe’s Experience Platform, that is defined in the XDM Schema, which is another menu item in Launch:
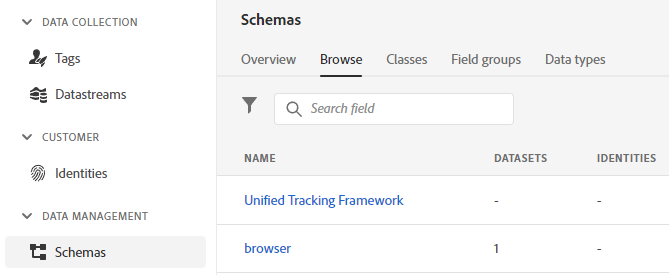
We are going to use the global tracking standard that we call our Unified Tracking Framework. In the Schema editor, we first added the AEP Web SDK ExperienceEvent Field Group (1), which gives us a bunch of useful fields for web platforms already (2):
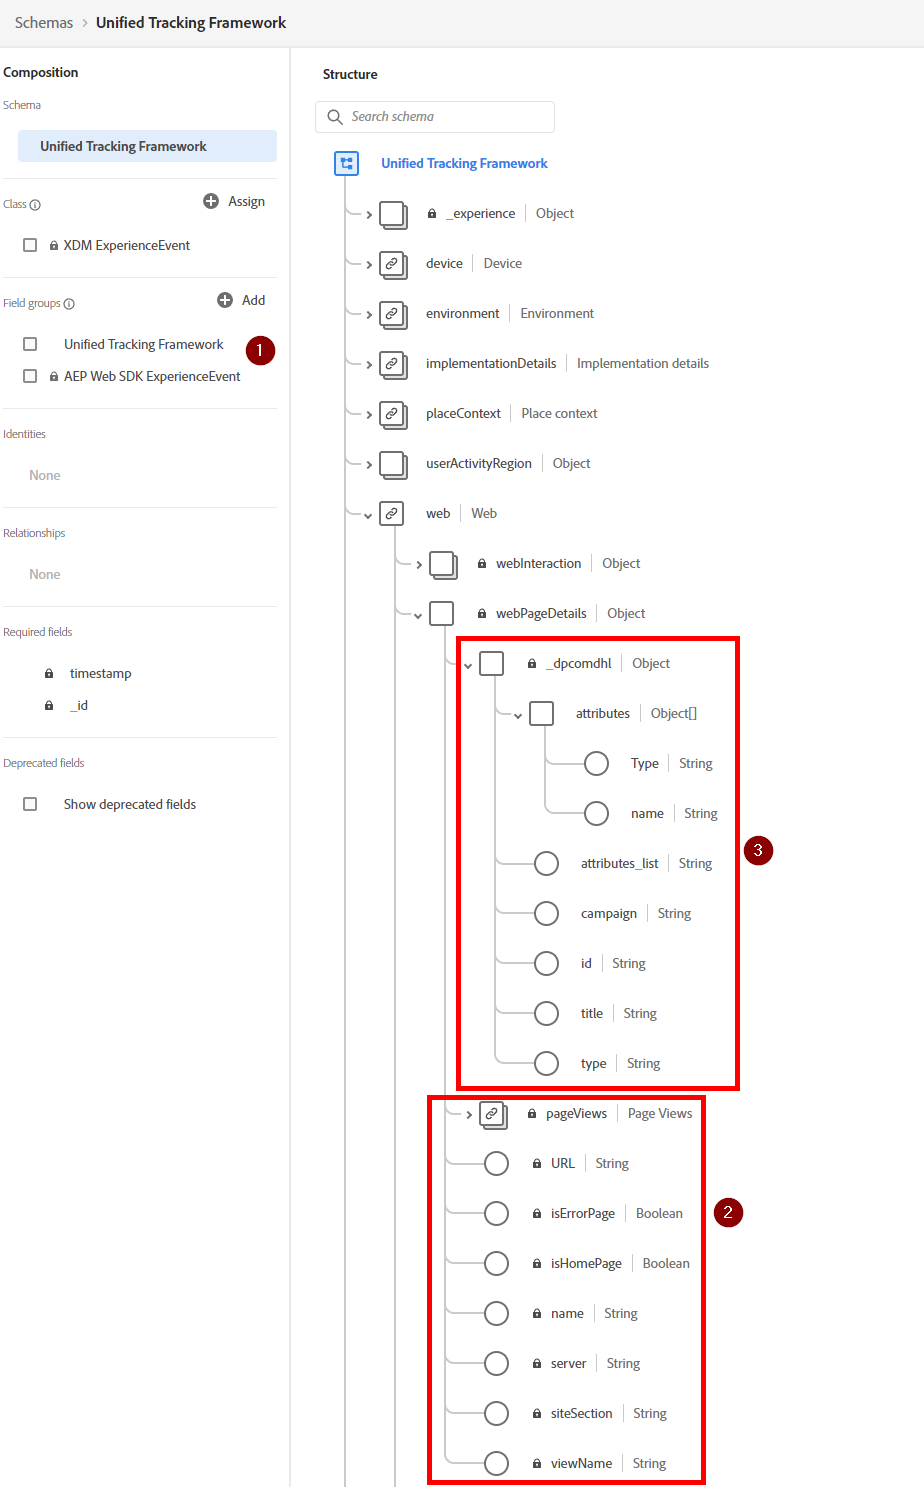
Because we like to collect some more information, we have added some custom fields under our company’s namespace (3). As you can see, we also want to collect campaign information and some page meta data on top of what the Web SDK provides natively. With this cozy home for our data, we will now map the data layer to this XDM Schema.
Sending data to Adobe Analytics through Adobe Web SDK
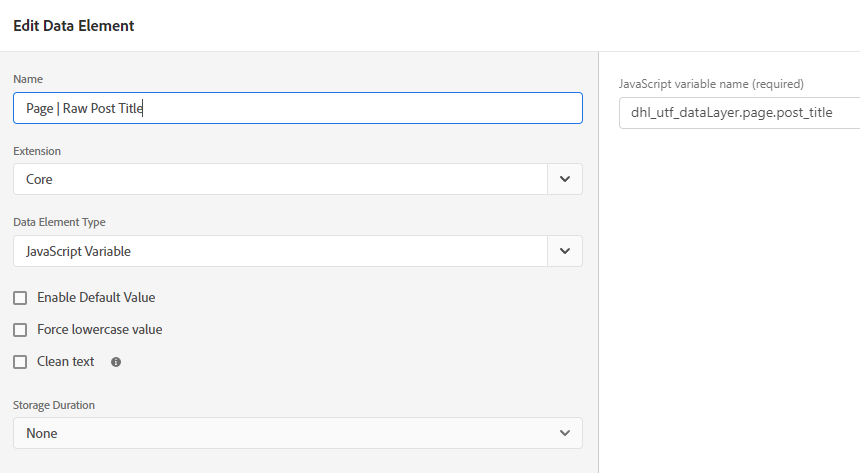
There are a couple of steps required to map the variables from our data layer to the XDM Schema we created above. First, we need to pull the data layer information into Data Elements in Launch. That is a pretty basic procedure with Data Elements like this one for the post title:
While Adobe is working on ways to send the full data layer directly to the Edge Network, I personally like this very deliberate way to map data. Next, we need to create a XDM object type Data Element from the Web SDK Extension (1). In there, we can select the Schema we just created (2) and are greeted by the very same view we know and love from Experience Platform:
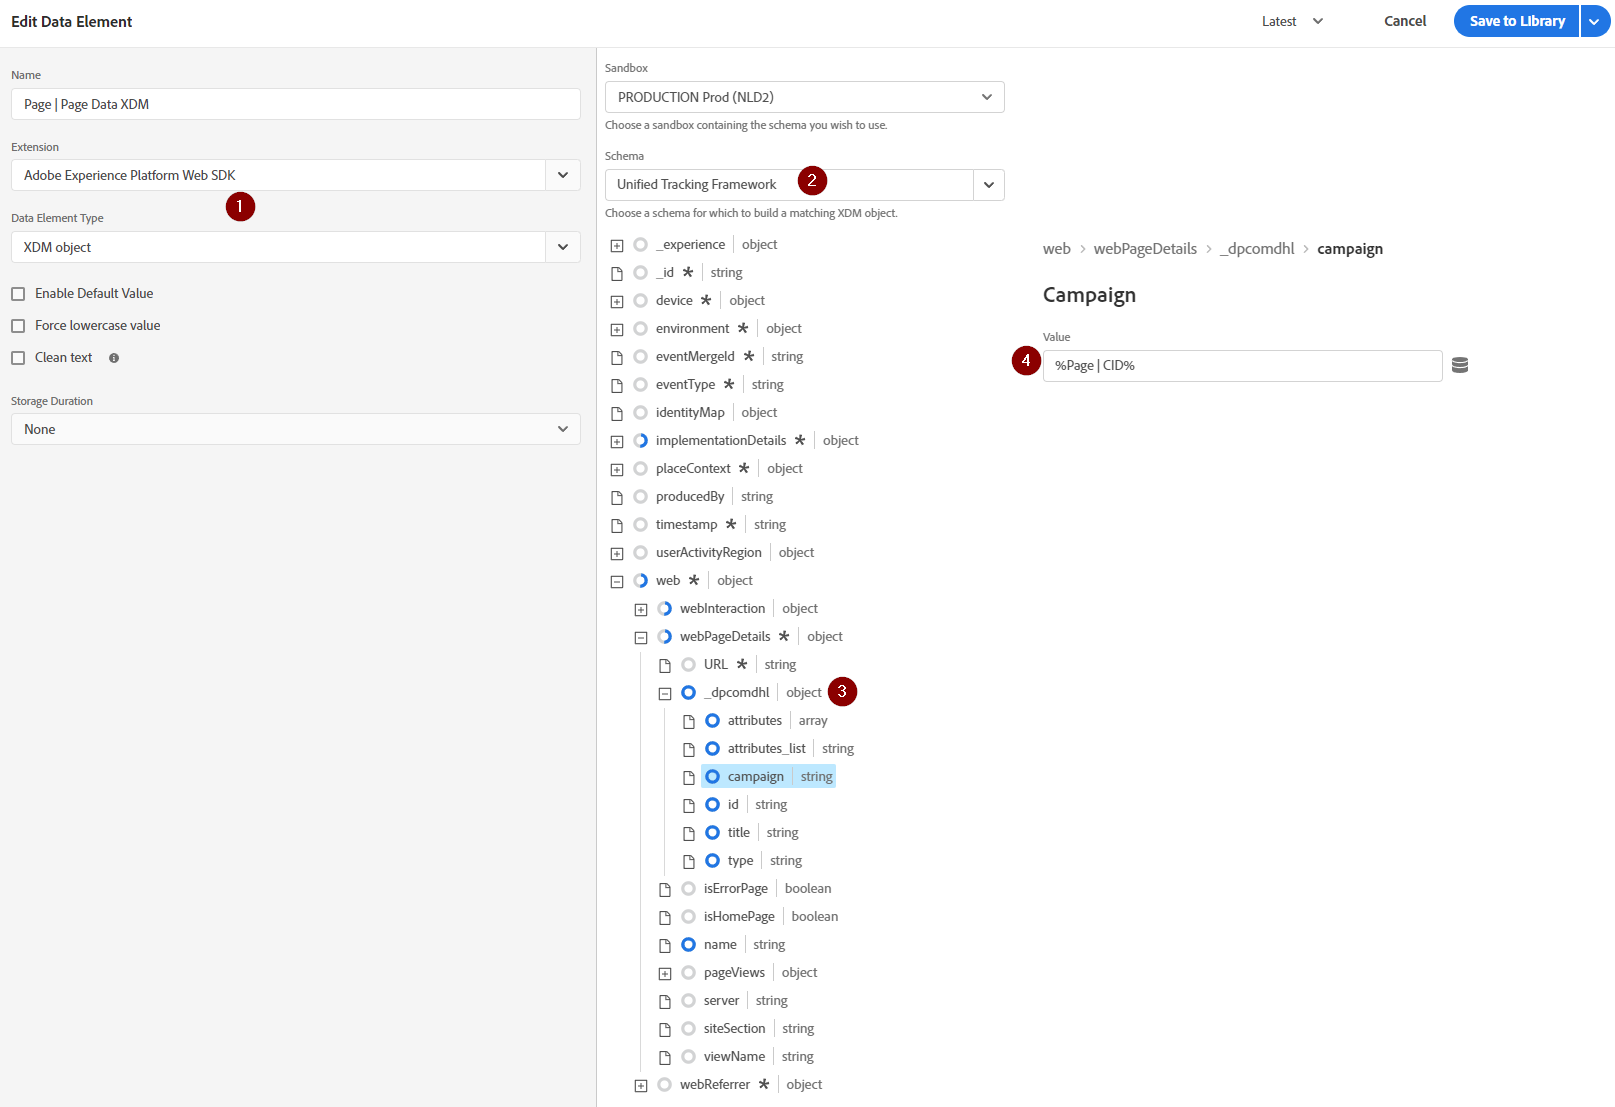
To map our Data Elements to a field in the XDM Schema, we now just need to click on a node in the Schema (3) and select the Data Element we want to use (4). That’s super simple!
With this XDM Data Element in place, we can now finally send our data off to the Experience Edge Network! To do that, we need a Rule with the Send event Action from the Web SDK Extension. Ours looks like this:
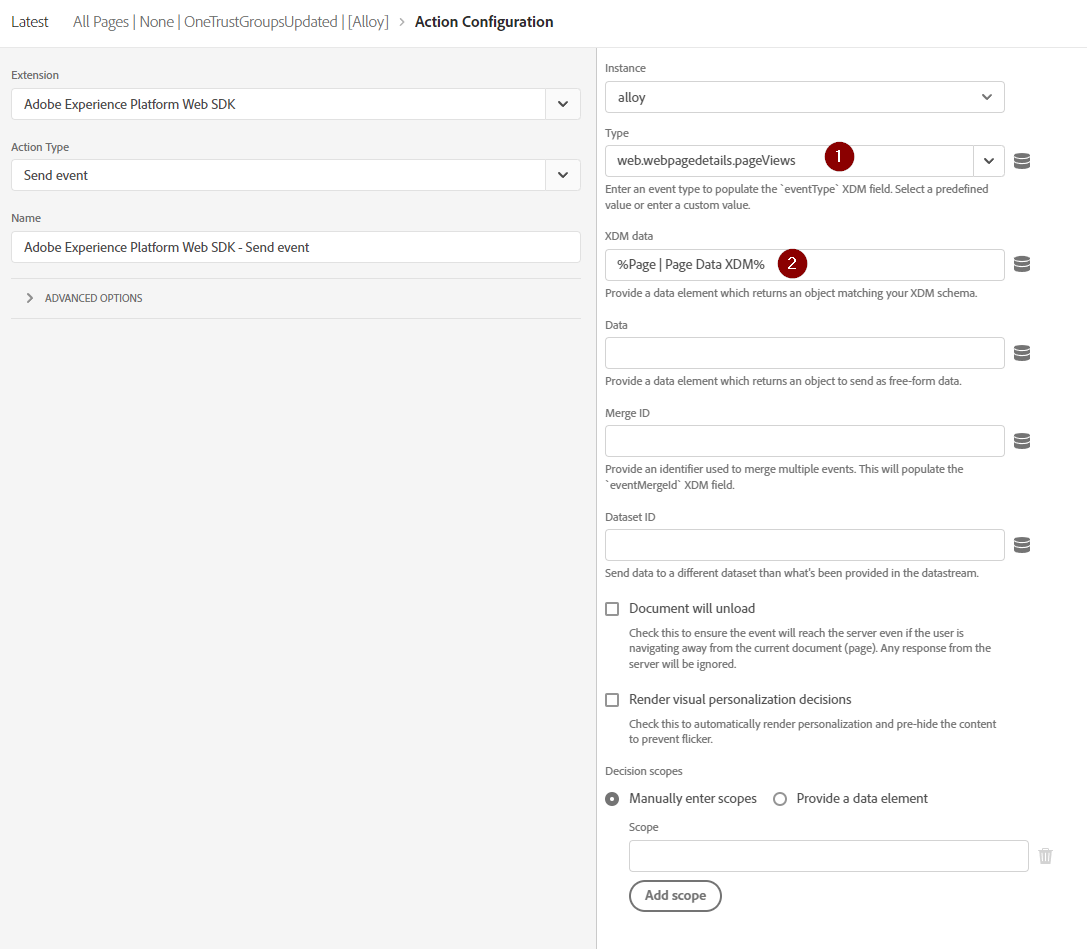
As you can see, we’re using the web.webpagedetails.pageViews event Type, which will come in handy when talking to Adobe Analytics, and select the XDM Data Element we have created above. Whenever we now open a page on this blog, we can see the requests firing as expected:
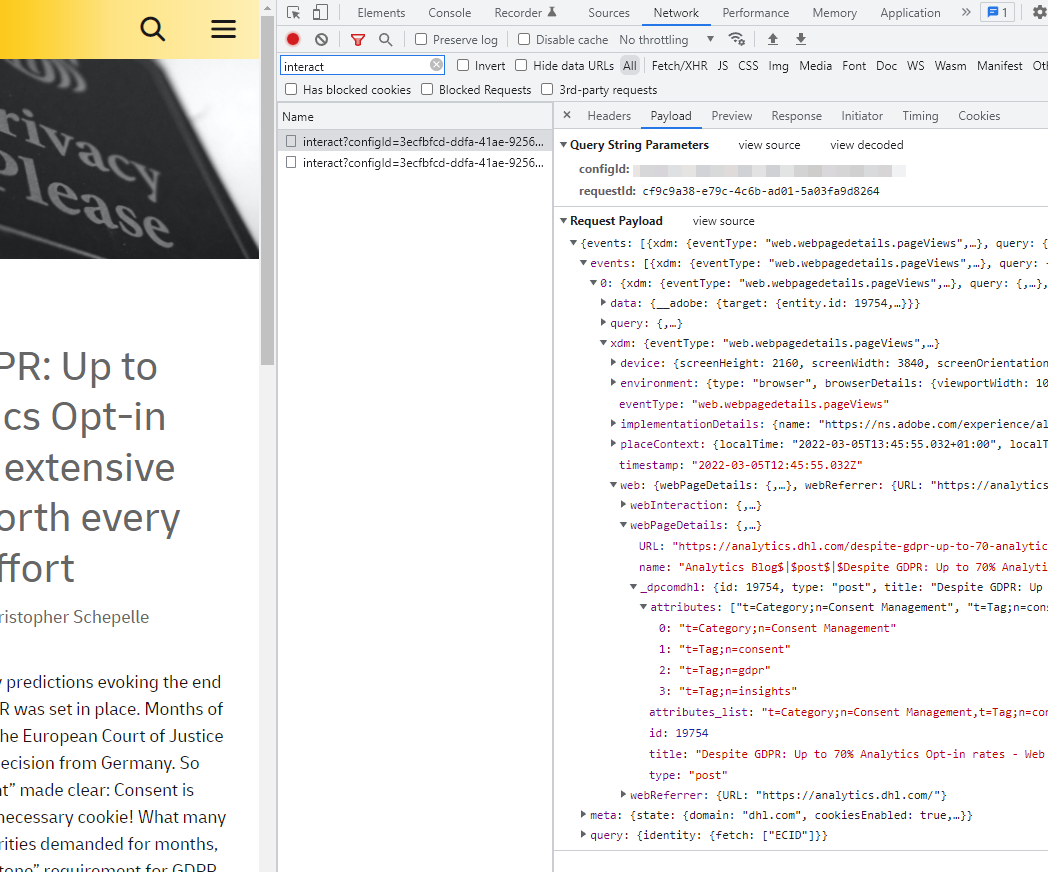
You can look into your browser console right now to see the magic happening! That is, of course, under the condition that you have previously given us your consent through the consent banner on this site. Since consent management on the Web SDK Extension is not very mature yet, we are just using a Launch Condition to check if a user has given us consent or not.
The last step now requires us to map the XDM Schema fields from the Web SDK to Adobe Analytics variables, like eVar17. Adobe maps a lot of variables automatically by now (thank you Adobe for listening to feedback!) but custom fields still need manual mapping. We could also use the Adobe Analytics Fieldgroup, but I personally find that very wasteful. The place to map our Analytics variables to XDM is in the good, old Processing Rules interface:
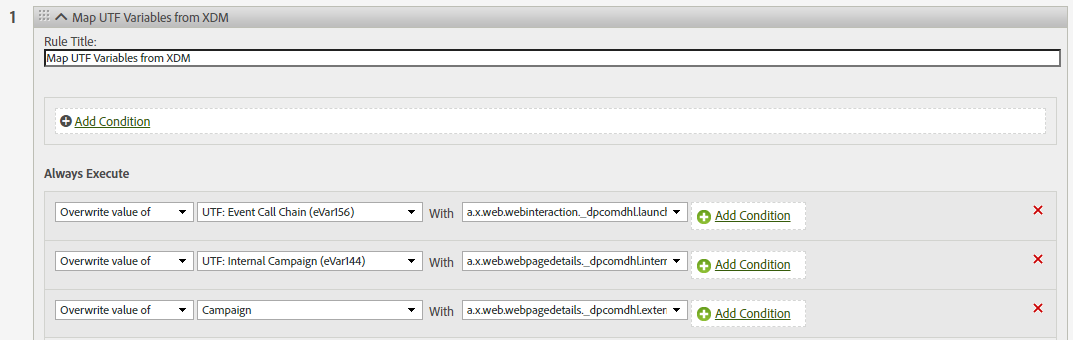
This rule shows how we can pull data out of the XDM fields and write it to the Adobe Analytics dimensions we know and love.
Now we have successfully implemented Adobe Analytics through the Web SDK on this blog! Stay tuned for the following posts to find out how we can bring Adobe Target to this page.

Fromer practice Lead Analytics at DHL with more than a decade of experience in Digital Analytics.
Most know for his analytics blog https://www.fullstackanalyst.io/
Thanks for the detailed explanation, I have one question about ECID mapping to eVar/Prop, is there a custom JS code that we can use in Launch for mapping or do we need to use Processing Rule to Map it to eVar or prop?